前言
在學習unity的物理動化過程中,我們曾經學過如何運用C#製作車輪的轉動,或是讓車子碰撞產生的毀損、冒煙等等,今天就跟著大家一起學習另一個很有趣的物理現象- Softbody ,Softbody在大部分的3D軟體裡面都會出現,但在Unity裡面我們算是很少用到的一項,今天我們就利用最Soft的果凍來練習一下如何讓原本充滿剛性的物體可以soft起來。
Jelly Object
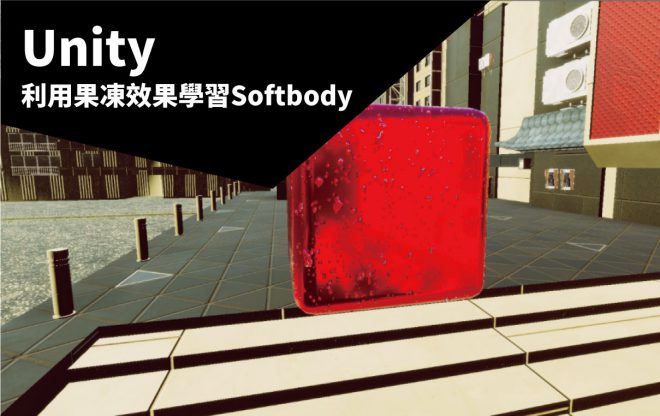
大家可以依照自己的喜好製作3D物件,我這邊直接用了一個Cube當作果凍的模型,並上了一個果凍的Material,雖然還沒開始製作不過已經有果凍的感覺了。

在開始之前我們直接在Script裡面新增一個C#的語法

Jellymesh
一開始的時候我們需要從mesh filter component擷取Original mesh所以寫下OriginalMesh = GetComponent().sharedMesh; 這段語法
並且從render的component讀取Meshrender,並使用MeshClone = Instantiate(OriginalMesh); 這段語法讓網格的克隆實際化。
並使用for讓他可以loop給index以及 vertex在world point

而在使用JellyVertex之前我們必須先宣告JellyVertex的位置、速度、力量

接著我們需要vertexArray去讓Jelly的vertex以及Id可以依照強度進行變形,或是Jelly Vertex的變形,並在Intensity強度的部分可以使用render bounds max數值

再來我們來設定果凍搖晃的數值,這邊利用Force、velocity以及position的相乘關係讓mesh有自然的抖動。

增加Lerp程式,可以讓我們的taget以及強度可以慢慢融合

並在一開始的地方宣告強度、質量、剛性、彈性等預設的數值

以下為完整的C#語法
using System.Collections;
using System.Collections.Generic;
using UnityEngine;

public class JellyMesh : MonoBehaviour
{
    public float Intensity = 1f; //強度預設值
    public float Mass = 1f;  //質量預設值
    public float stiffness = 1f; //剛性預設值
    public float damping = 0.75f;//彈性預設值
    private Mesh OriginalMesh, MeshClone;
    private MeshRenderer renderer;
    private JellyVertex[] jv;
    private Vector3[] vertexArray;

    void Start()
    {
        OriginalMesh = GetComponent<MeshFilter>().sharedMesh;
        MeshClone = Instantiate(OriginalMesh); // 網格克隆實際化
        GetComponent<MeshFilter>().sharedMesh = MeshClone;
        renderer = GetComponent<MeshRenderer>();
        jv = new JellyVertex[MeshClone.vertices.Length];
        for (int i = 0; i < MeshClone.vertices.Length; i++)
            jv[i] = new JellyVertex(i, transform.TransformPoint(MeshClone.vertices[i])); // MeshClone頂點長度轉換
    }

    void FixedUpdate()
    {
        vertexArray = OriginalMesh.vertices;
        for(int i =0; i< jv.Length; i++)//依據長度得到其他的point
        {
            Vector3 target = transform.TransformPoint(vertexArray[jv[i].ID]);
            float intensity = (1 - (renderer.bounds.max.y - target.y) / renderer.bounds.size.y) * Intensity;//讓強度使用render bounds max
            jv[i].Shake(target, Mass, stiffness, damping);
            target = transform.InverseTransformPoint(jv[i].Position);
            vertexArray[jv[i].ID] = Vector3.Lerp(vertexArray[jv[i].ID], target, intensity);
        }
        MeshClone.vertices = vertexArray;
    }

    public class JellyVertex // 宣告果凍的位置、速度、力量
    {
        public int ID;
        public Vector3 Position;
        public Vector3 velocity, Force;

        public JellyVertex(int _id,Vector3 _pos)
        {
            ID = _id;
            Position = _pos;

        }

        public void Shake(Vector3 target,float m, float s,float d)// multiply力量、速度位置等等控制mesh的shake
        {
            Force = (target - Position) * s;
            velocity = (velocity + Force / m) * d;
            Position += velocity;
            if ((velocity + Force + Force / m).magnitude < 0.001f)
                Position = target;
        }

    }


}
將語法寫好以後我們將語法拖入所要讓它變成果凍的物件裡面,沒有抱錯的話就可以使用了,上面的數值都是我們一開始在C#宣告的預設數值

再來就可以看一下我們目前的效果, 自然的shake以及彈力效果看起來還蠻不錯的

我們可以利用多一點果凍來看看效果如何

小結
雖然語法的部分可能還要在精進才有辦法讓果凍的效果更加生動,或是配合動畫才有讓果凍更真實的動起來,但是透過這次的語法練習我們可以做修改或是添加語法讓這次的練習更加有意義,更可以運用在其他的物件上面讓softbody的效果透用在所需要的場景上面。
參考資料:https://www.youtube.com/watch?v=UxLJ6XewTVs
