[前言]
之前在搜尋製作人物衣服時,想要找出如何將衣服沿著身體模型製作的方法,以下分享兩種概念其實有一曲同工之處,主要目的是如何將物體沿著曲面製作出模型。
[用途一] 讓線在球上圍繞。
方法:
1.製作模型物件-球體與線
這邊以球體當範例,並用Spline產生線條,主要目的是讓線在球上圍繞。

2.線與物件綁定
◇ Spline中加入Surface,並將 Surface 變為子層級

◇ 選擇Surface 將球體拖曳至欄位中進行綁定。

3.調整Surface參數:
Type:選擇對象進行的映射方式,上面的UVW類似XYZ,這邊映射屬於貼圖即以UVW來定義。
UV-映射到貼圖的X軸Y軸。
VU-映射到貼圖的Y軸X軸。
Type的UV方式,以及Plane的XY軸向。

4.將線轉實體並加粗線條
創建圓圈,加入圓圈作為物件的大小直徑,先將其半徑設定為10,透過sweep將線轉立體。

5.最後將Surface與Sweep 做層級上的結合,即可完成線圍繞著球體。

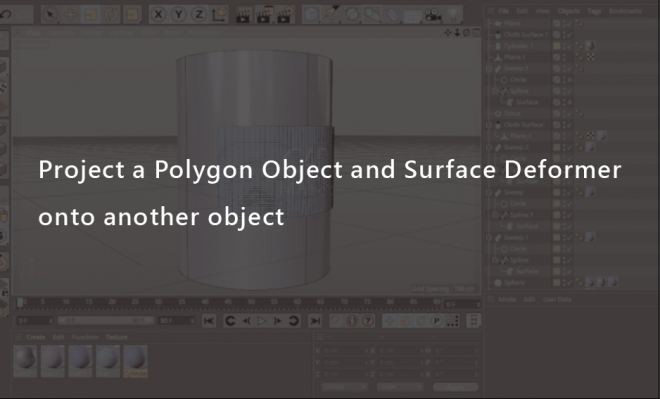
[用途二]圓體物件上的標籤
1.建立Cylinder,當主體物件,加入Plane物件製作平面當標籤。
2.轉到正視圖,要先將平面與圓柱的對應位置放好,標籤物件要保持與圓柱重疊,並記住要將平面segment數量增加,並轉成可編輯模式。

3.在平面上加入Character>Commands>Project Object 齒輪icon。
跳出視窗Default與Control選擇Points to Surface,即可看到平面已貼符在圓柱上。

4.最後增加平面厚度,將Simulate>Cloth>Cloth Surfce 調整Thickness參數,即可完成製作伏貼於圓柱的標籤。

以上兩種方式,皆是可以很快速製作在非平面的物件上創建立體物件的應用,下次遇到需要類似之效果即可參考。
參考資料:
https://www.youtube.com/watch?v=hGQam3x5jwE
https://www.youtube.com/watch?v=SngHoW_EQDg