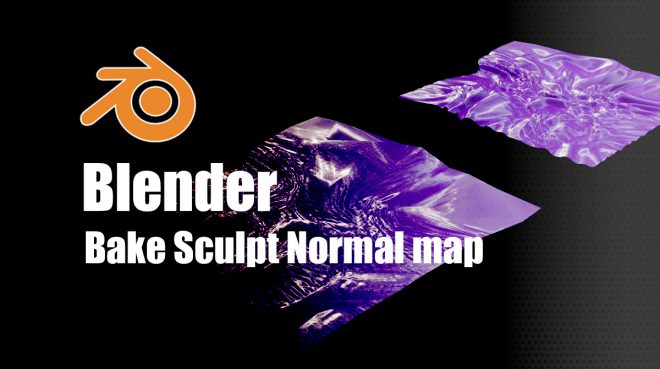
簡介
根據上一篇透過Blender來製作衣服效果,由於我們把模型Smooth太多次,所以面數會比較高,這篇我們就融合上一篇的效果來順勢紀錄一下在Blender快速Bake normal與減面。
Let’s Go

在Bake之前要先把你的模型拆UV,請點選模型進入Edit Mode,並按下U,選擇最基本的Unwrap,你可以看到在UV View視窗可以看到他均勻的分布在UVmap中。

在來就拖拉出新的視窗並且將該視窗設定為Shade Mode,如上圖的順序,你就可以看到上塗視窗效果,有點類似Unity Shader Graphic很像。

在Shader視窗中新增一個物件,可以按下快捷鍵Shift+A來喚起新增視窗,接著請選擇Texture→Image Texture,並將該物件的color跟你的Material的color串聯起來,要注意的是你的模型要先新增一顆材質球。

在來要點下該物件的New來新增等等要Bake的一張圖,你可以為該圖命名並設定圖片大小,這邊就用2048*2048吧。

該步驟最後請到UV視窗,把你剛剛新增的圖附著在模型上,如上圖,請點選土片選擇並附著,你就可以看到附著成功了。


在Bake之前,我們要先在Scene做設定,否則無法Bake。請看上圖,在屬性視窗中的Render tab中,要先將Render Engine改成「Cycles」否則不會出現Bake選項。


而你會發現無法Bake,原因是你的模型必須加上「Multires」且按下「Subdivide」,讓模型的面數更加增加,用「Smooth」可能會遇到無法進行Bake的動作,都設定好後就可以進行Bake且不會出現錯誤了。

按下Bake後就可以看到UV視窗出現了Normal Bake的成果,可以看到UV上出現了皺褶的痕跡。

接著你可以重你剛剛Bake的物件按下快捷鍵Shift+D複製出另一個物件,並使用「Decimate」功能將你的模型快速減面,由該模型的6825→250遞減到250面。然後把你新增的模型賦予新的材質球。

最後到Shader視窗一樣新增1.Image Texture,將剛剛Bake的Normal map附著在該物件參數中,接著在新增2.Normal Map物件,將Image Texture的Color與Normal Map的Color相連接,最後再把Normal Map的Normal Channel連結到材質球的Normal Channel,就完成了。
小結

大家可以看看上圖的差別,雖然效果不向高面數這麼好,但是使用減面+Normal確實是可以讓效能大幅提升,這個技術大家應該是熟到不行了,但是在Blender我還是得紀錄一下,順便分享一下。