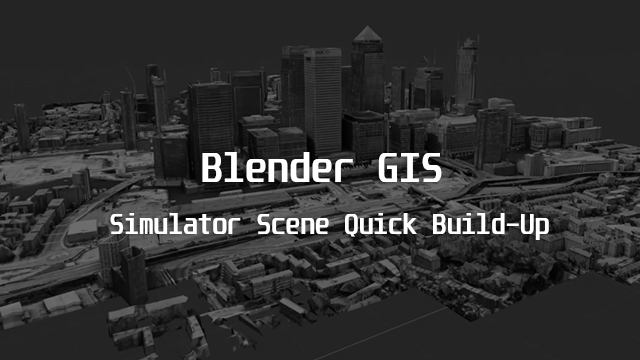
前言
這篇是在介紹透過既有的地圖資訊系統,例如Google Map , Bing Map等在網路上可以互動的地理資訊服務,由於該服務皆有提供地圖的串接API,所以我們可以透過3D軟體的外掛來擷取資料並自動生成較為粗糙的概括地勢、道路路線、建築物等等,我們開始吧。
下載外掛


這次我們選定使用Blender軟體來編輯,我們先把網路上神人撰寫的外掛下載下來
網址:https://github.com/domlysz/BlenderGIS
按下Download ZIP資料,假如你會使用Git就使用Clone下載到你電腦的指定資料夾。下載好如上圖內含有以下此資料夾。
安裝外掛與設定


該GIS外掛適用於Blender2.8以上的版本,首先看到上圖一按下Edit->Preferences環境設定,並看到左側區塊有個Add-Ons選項,該選項就是來管理Blender外掛區。接著按下Install並選擇剛剛下載的ZIP檔案(剛剛解壓縮檔案只是展示,實際安裝必須使用ZIP檔案,選擇並按裝即可。


按裝好之後可以看到外掛選單多出一個”3D View: BlenderGIS”,將此打勾,接著去指定下載Map會暫存的Cache資料夾,如上圖二。前置作業完成時在主視窗可以看到多出了”GIS”選項。
擷取想要製作區域


點下GIS->WebGeoData->BaseMap,Source選單是選擇地理資訊服務系統,選單中有許多選項,在這我們選擇最常用的Google,Layer我們選擇(Satellite)衛星地圖,按下OK後會看到Blender中顯示世界地圖,而我們這邊就來取台北101街區來製作實驗。
長出模型

我們可以透過快捷鍵”G”來尋找我們想要製作的城市,選定好想要製作的地圖區塊後按下”E”擷取範圍地圖資訊。

我們先來處理地表地勢起伏,點選剛剛擷取的地圖物件,並點選GIS->Web GeoData->Get SRTM,該功能是透過衛星結取的資訊來轉換生成地勢的起伏。(有時候會有錯誤訊息說要使用TopView才能夠進行轉換)。假如要讓地勢起伏明顯可以選擇山區地形。

接下來要產生街區,道路與建築物,如上圖一樣選擇GIS->WebGeoData->GetOSM。

點選完上述選項後會出現如上圖,你可以選擇你想要生成的類別,之中有建築物、高速公路、自然景物、水域等等,勾選完之後要看到”Elevation from object”,意思是要依照剛剛生成的地勢來順勢生成地面上的物件,最後點下OK,必須等等,最後可以看到完整的區域物件生成。

小結

透過此工具可以3分鐘建置好特定區域的”概略”場景,在之後我們有機會再來說說透過衛星圖片來快速把這篇所製作出的物件上材質。