[簡介]
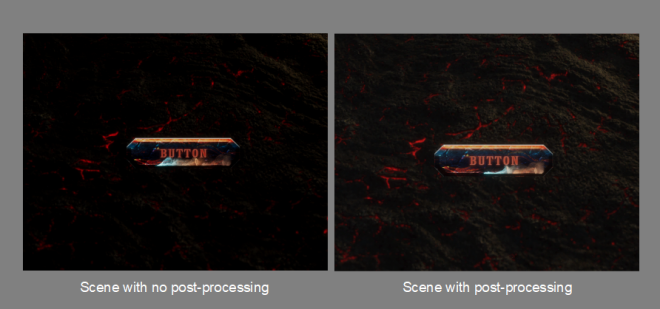
目前在找尋優化VFX效能的方式,之前Jerry有提到這可以往Post-processing的方向進行實驗,在網上爬了一下,目前Unity 2019.1就有支援內建的Post-processing,不用特別外加外掛就可以使用,透過Post-processing就很像是相機的濾鏡效果能在圖像呈現的最後一步加上視覺效果,在同一時間處理視覺效果。
[目的]
想要透過加入Post-processing,降少VFX效果,提升VFX運作時的效能。
1.先將Post-processing加入,至功能列Window->Package Manager,安裝最新版的Post-processing。

2.在專案中按右鍵,選擇Rendering->Scene Settings,會出現Scene Settings圖層 。

3.點擊Scene Settings,往下選擇Add Override,會看到Post-processing的選項,可以新增想要的濾鏡項目,進行使用。

4.Post-processing 功能英中對照表,方便大家查詢使用。

5.試過一輪效果,可分為顏色調整及鏡頭二類。
a1.Bloom效果會讓場景變模糊,可以調整鏡頭的對焦方式,要對焦還是失焦都可以。

a2.Lens Distortion,可透過X.Y軸調整鏡頭的彎曲程度。

b1.Channel Mixer,可依照不同色版,進行色版中的RGB調色。

b2.Color Adjustments,可調整曝光量、對比、飽和度及顏色等。

[小結]
對於影像畫面需要大規模調整影像的話,是個很方便及快速的方式,以上提的幾個效果,是以目前案例調整較為明顯的效果,其餘的部份,也都可以再試試。